In WordPress development you have the possibility to easily create a testing environment for your website. Amazing, right? Continue to see how simple it is and what are the advantages of a staging site.
A staging site is an exact copy of your website that is not visible to everyone and you can use it for testing purposes.
In this post, you’re going to learn:
- How you can use a staging site
- How to create it via hosting, plugin or manually
Useful information about staging sites
So let’s find out why a staging site is important and how you can use it.
- In a staging environment, you can test anything new that you need to implement or change on your live website. Try out theme modifications, server changes, new plugins or a new theme.
- You can see design issues, bugs and preview your pages in all live screens. By creating a WordPress installation locally, you can test your website at no cost at all, which is incredibly helpful. But the problem is that you can’t see its behavior on all devices. For example, it is impossible to see the actual website in a mobile device, which can turn to be risky. Another issue in testing locally is that your server configurations would differ in a live server from the local server. So, you won’t discover any problems coming from this side.
- Staging Sites don’t need to buy a new license for your premium theme. While it is not public and you use it only for testing, there is no reason for a new purchase code.
Ways to create a staging site
#1 Staging Hosting
Many hosting providers started including in their plans the ability of one-click staging site installation. This is a great hosting feature because it saves you much time and offers a properly installed testing environment.
Not all server hosting companies offer this, but it gets more common while many people who are not developers create websites nowadays.
So, don’t worry if you’re not code-savvy. Search for hosting companies that provide staging site installation. If you already have a server, take a look if it is already included in your plan. If you are not sure if it is included and how to proceed, you can contact your hosting provider.
#2 Plugin does the job
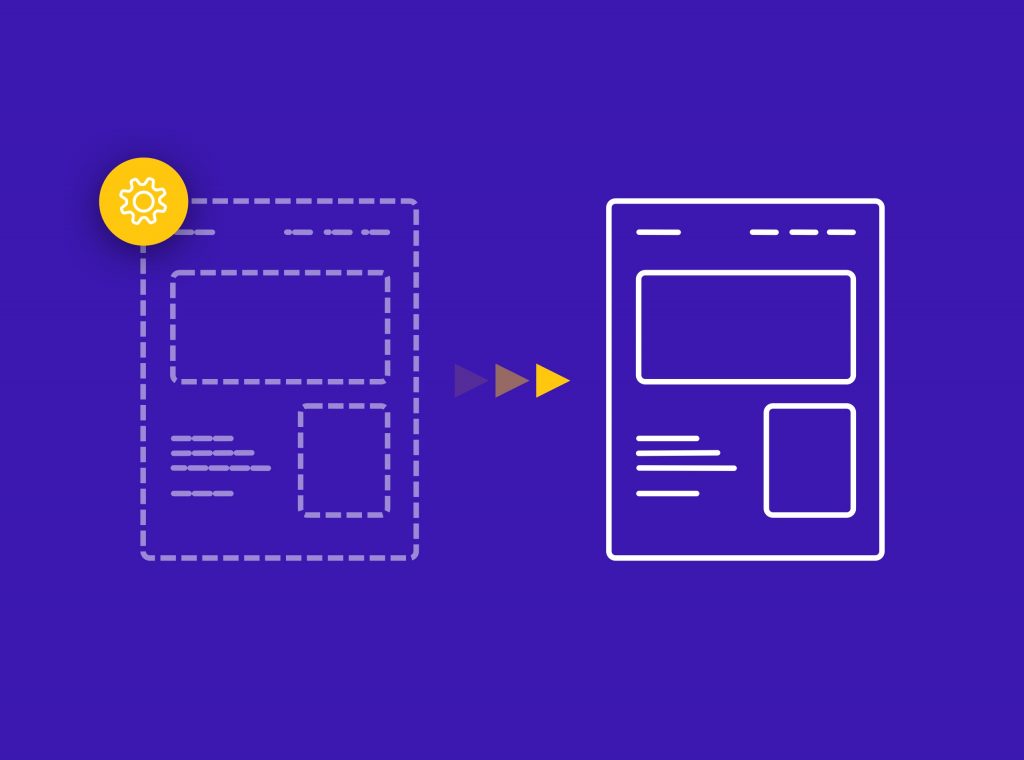
If your server doesn’t include a staging site option, no worries! Hopefully, there are plugins to help you out. You can install a third-party plugin, such as All-in-One WP Migration, Duplicator, WP Staging – DB & File Duplicator & Migration. Usually, it takes just a few minutes, and your staging area is ready. The plugin exports a new copy of your website (files and database) or moves this copy to a new area. All these plugins are well documented with steps or videos.
#3 Manual installation for more advanced users
Before starting this process, it is highly recommended to keep a backup of your website in case that something won’t go as expected. In this way, you will have more control over the way you can create a staging environment.
In this procedure, you have to log in to the control panel of your server hosting.
- Create the staging domain and FTP account
The first step is to create the subdomain that will host the starting site. So, select SubDomains and create a new domain. You can name as you prefer.
Then, it would be better to have an account only to manage your staging site. This will help you not to mess things up. You can create this account via FTP Accounts.
- Create the database
Every WordPress installation, except the code files, will also have a MySQL database. So, you need to create one via your cPanel for this new copied website. Go under MySQL Databases and give a name to the new database.
Now you’ll need to create a new user account and connect it to this database. Assign all privileges to this account so you won’t find any access problem.
- Export your live website
As we’ve already mentioned, there are plugins such as Duplicator, that create a copy of your website. So, if you use this plugin, first install and activate it until you see it the left panel on your dashboard. Go under Packages, write a name for your clone package and click Next.
Then, see if all files are selected, click on the checkbox below and start the Build process.
This may take a while until the download package appears. Then, you just click One-Click Download.
Of course, you can do this with other plugins too.
- Import WP files
Now you can upload these files in the subdomain that you’ve created in your server. You can either import it via cPanel File Manager or FTP.
If you haven’t already, you would need to install the latest version of WordPress before the migration. So, install WordPress with the account you’ve created previously.
Now, you should also include your installation files. These files are included in 3 folders: uploads, themes, plugins. So, find these folders and import them. After the WordPress files of your website, you need to import your database as well.
- Import database
Now, go to phpMyAdmin. Select the database that you’ve created in step 2 and Import the copied database from the Duplicator plugin.
- Change database in wp-config file
To run WordPress, you would need to point the right database name and login details in the wp-config file. So, you just find and replace database name, username and password with the ones that you use for the staging area.
Last, it is essential to keep your staging site hidden. There are other plugins that you can use to make the subdomain password protected. So, when a user visits this domain, credentials will be needed to preview the page.
Conclusion
Once you’ve done with your changes and exhaustive tests, if everything works properly, you can move it to live. You follow the same steps once again but this time starting from the staging website.
Whichever way you choose, the sure thing is that you will be able to proceed in creating your website without the fear of presenting an unacceptable result. No one wants to show a crashed website or elements that don’t appear correctly. It is highly recommended for every professional to keep up the good work and high-standard result.